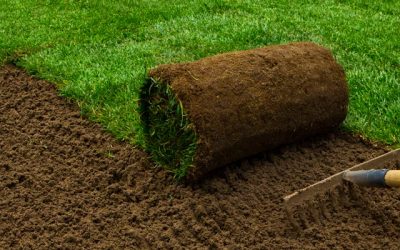
As winter rolls in, it’s not just the cooler temps that stress your lawn – it’s the shade. With the sun sitting lower in the sky and shadows stretching longer each day, parts of your lawn that basked in light during summer can suddenly find themselves in the dark.

While many Australian turf varieties thrive in full sun, shaded sections – under trees, beside buildings, or near fences need special care to stay healthy. Let’s talk about what causes these winter shade issues — and what you can do now to set your lawn up for success.

Lawn for Winter Shade

Why Shade Is a Bigger Problem in Winter

When the sun sits lower on the horizon in winter, shaded areas receive significantly less direct sunlight. This reduction affects turf health in several ways:

  • Reduced photosynthesis
    Grass under shade conducts less photosynthesis, slowing growth and weakening root systems.
  • Increased moisture retention
    Shaded spots often dry out more slowly, encouraging moss, fungal diseases (e.g. dollar spot) and compaction.
  • Temperature fluctuations
    Turf in shade warms up and cools down slower, potentially delaying spring green-up.

Studies indicate that most grass requires at least three to four hours of direct sunlight daily to maintain density and vigour; anything less pushes even “shade-tolerant” varieties to their limits.

Selecting Shade-Tolerant Turf Varieties

Not all grasses perform equally under winter shade. In NSW, the most reliable options for shaded lawns in cooler months include specific Buffalo and Zoysia turf varieties.

Turf Variety Shade Tolerance Best Use
Sir Walter DNA Certified Buffalo

⭐⭐⭐⭐☆ (Up to 70% shade)

Residential lawns with tree or fence shadow
TifTuf Bermuda ⭐⭐☆☆☆ (Needs 5–6 hours sun) Full sun areas; not ideal for winter shade
Sir Grange Zoysia ⭐⭐⭐⭐☆ (Up to 50–60% shade) Low-maintenance, semi-shaded gardens

Tip: If you’re laying new turf in autumn or replacing sections, opt for a shade-tolerant species. Sir Walter DNA is one of the best choices for Aussie conditions.
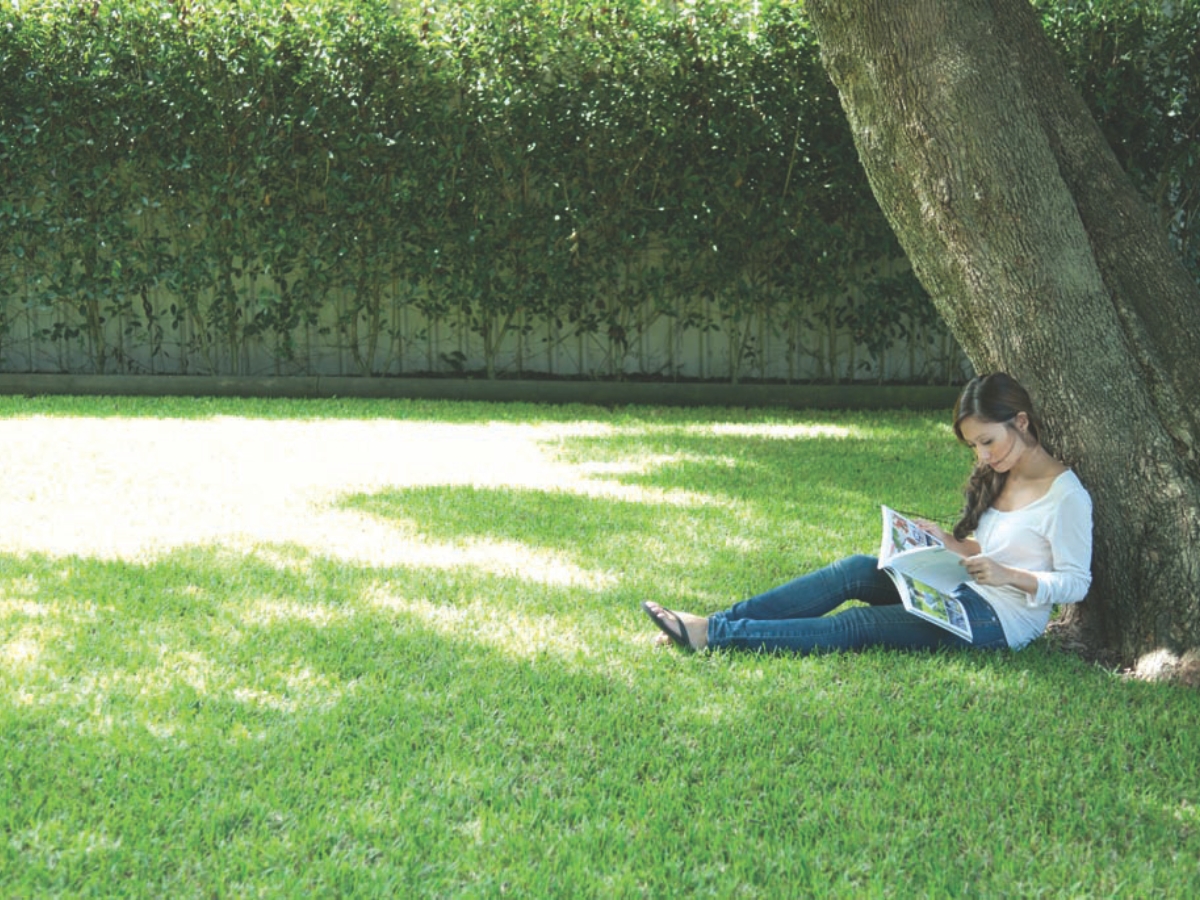
Winter Shade

How to Reduce Winter Shade on Your Lawn

Trim trees and raise the light

Beyond choosing the right turf, managing the source of shade helps maximise sunlight exposure.

Prune overhanging branches

  • Trim trees or shrubs so the sunlight can penetrate to the turf. A 30–40% reduction in canopy density can significantly increase light levels on the ground.
  • In winter, focus on deciduous trees that completely block the sun; removing lower branches can allow more low-angle sunlight.

Thinning out dense foliage

  • Instead of heavy trimming, thin interior branches, maintaining the tree’s shape while allowing dappled light.
  • Thinning is ideal if complete pruning would harm tree health or violates local council regulations (e.g., heritage trees).

Consider reflective surfaces

  • Install light-coloured edging or mulch in heavily shaded patches to bounce available light onto grass blades.
  • Reflective mulches (e.g., light-coloured pebbles) around the perimeter can help but avoid covering the grass itself.

Even a modest increase in direct or reflected light, an extra hour per day, can boost turf vigour significantly in winter.

    yellow_house_shade

    Strengthen your lawn before winter hits

    Apply a slow-release fertiliser high in potassium

    In autumn, use a fertiliser blend that prioritises potassium (the ‘K’ in NPK), which helps grass develop stronger cell walls and deeper roots.

    This doesn’t just prepare your lawn to withstand cooler weather — it also reduces the risk of fungal disease by fortifying the plant’s defences. Avoid high-nitrogen fertilisers at this time, as they promote leafy growth that’s more susceptible to winter damage.

    Aerate compacted or high-traffic areas to improve oxygen and drainage

    Shaded lawns tend to retain more moisture, especially after rain. Use a garden fork or core aerator to loosen compacted soil and allow air, nutrients, and water to penetrate more effectively. This is particularly important in parts of the yard that see regular foot traffic or have clay-heavy soils.

    Topdress lightly with sandy loam to encourage recovery and fill low spots

    A thin layer (5–10mm) of sandy loam spread evenly over the lawn helps improve drainage and levels out any uneven surfaces. It also encourages new stolons and rhizomes to grow, which is essential for turf recovery before winter sets in. Rake it in gently and water afterwards to settle the soil.

    Raise your mower height to leave more leaf surface exposed to sunlight

    In shaded areas, the lawn needs as much photosynthetic surface as possible to compensate for reduced light. Avoid scalping or cutting too short, especially in winter, as this weakens the plant and exposes the soil to erosion or weed invasion.

    As a general rule, mow no shorter than 40–50mm in shaded sections while preparing for winter.

      Adjust watering in shaded areas

      Reduce watering frequency to prevent over-saturation

      Shaded turf doesn’t dry out as quickly as areas in full sun. Watering on a “set-and-forget” schedule can result in soggy soil, which invites fungal pathogens and root rot. Quite often rainwater is enough for a lawn over winter.

      Water in the morning to minimise disease risk and allow time to dry

      If you are watering your lawn, early morning (around 6–9am) gives your lawn time to absorb moisture before the day warms up. Avoid watering late in the day, especially in shaded areas, as the moisture won’t evaporate as easily, creating the perfect environment for mould, mildew, and lawn fungus.
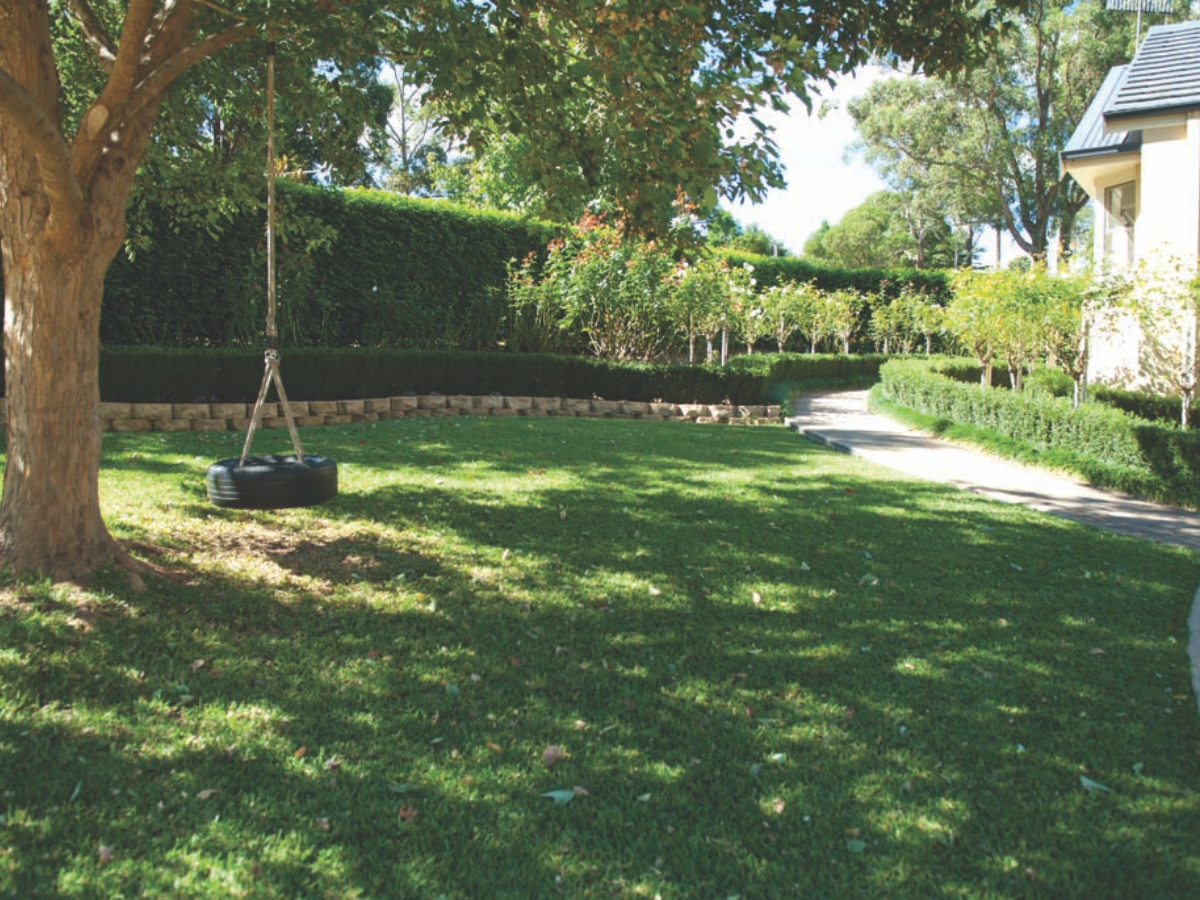
        Shaded Lawn

        Monitor for mould or disease

        Winter creates the perfect storm for turf diseases, especially in shaded, damp and poorly ventilated areas. If your lawn has struggled in the past or you’ve recently had long stretches of rain, keep an eye out for early symptoms before they spread.

        Grey patches or webbing on the lawn surface (Dollar Spot)

        One of the first visible signs is a small patch (about the size of a coin) with silver-grey fuzz or fine cobweb-like filaments across the grass blades in the early morning. These patches can quickly multiply if conditions stay cool and wet. It’s especially common in low-nitrogen lawns or where thatch has built up.

        Yellowing blades in defined circular or irregular patches (Brown Patch)

        These diseases start as pale-yellow circles that darken to brown and may have a slimy or greasy texture. A tell-tale sign is that the edges of the patch are more affected than the centre. If left untreated, the disease can create permanent bare spots that are difficult to recover from in winter.

        If your lawn is consistently affected each winter. Use products suitable for home lawns, and always follow label instructions.

        Winter shade can be tough on any lawn, but with the right preparation, you’ll give it a fighting chance. Boosting your turf’s health in autumn, managing moisture, and choosing the right grass type can make all the difference.

        If your lawn is already thinning in shady spots, now’s the time to act before things slow down even more.
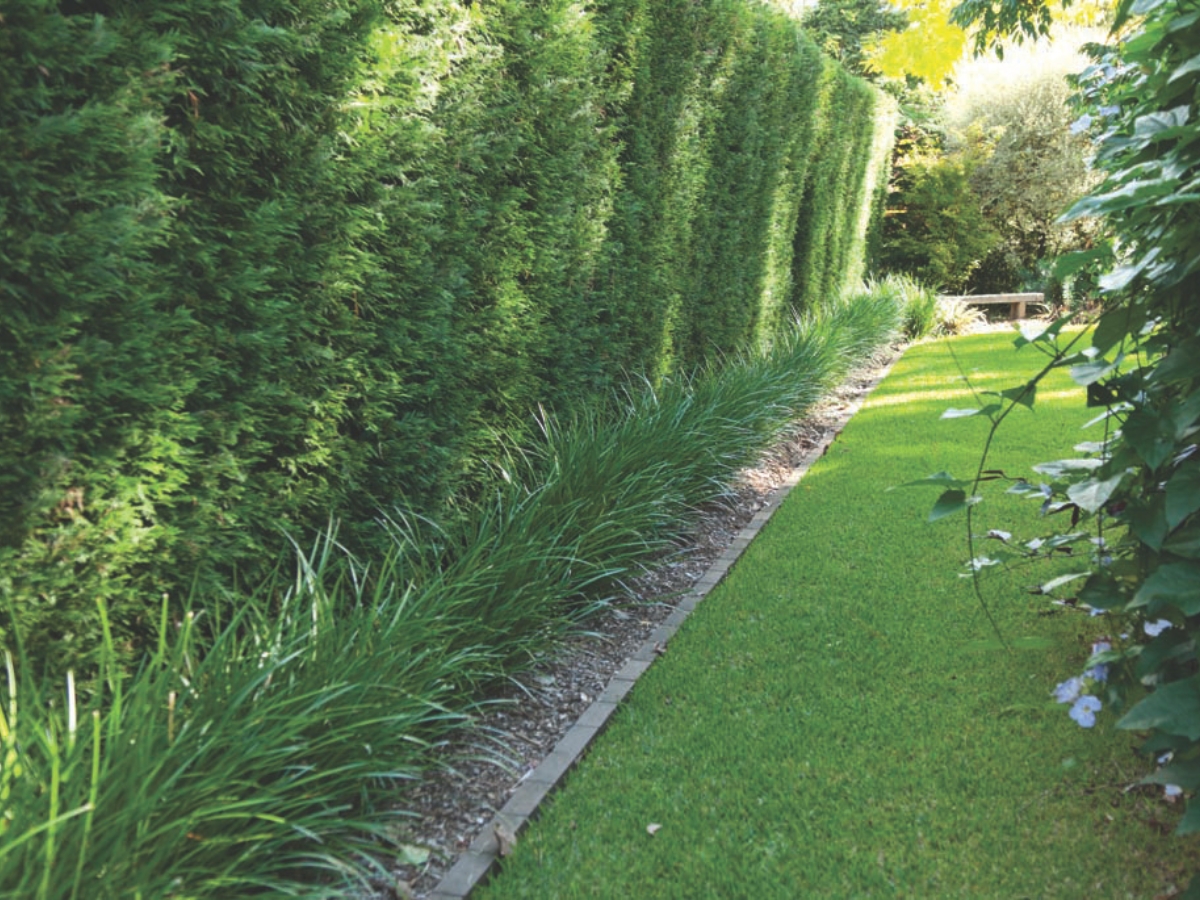
        How to Prepare Your Lawn for Winter Shade

        Get a Free Quote for Your Commercial Turf Project

        read more!
        bto logo master 1

        Find Us

        Facebook

        YouTube

        Google Maps

        Watering new turf properly is one of the most important parts of a successful lawn installation.

        The turf may be freshly cut, delivered in good condition and laid beautifully, but if the watering is inadequate during establishment, the new lawn can still suffer. Dry edges, shrinking rolls, weak root development, patchy colour and slow recovery are signs of poor watering rather than turf quality issues.

        For landscapers, a clear lawn watering schedule is not just helpful for the person maintaining the lawn. It also protects the quality of your work after handover.

        The first few weeks matter most. During this time, the turf is adjusting from being harvested and installed to actively rooting into the soil below. The goal is to keep the turf alive, encourage root growth, avoid unnecessary stress and gradually transition the lawn into a normal watering routine.

        This guide walks through a practical new lawn watering schedule for Australian conditions, including installation day, days 1–7, weeks 2–3, root establishment, seasonal adjustments, soil-type considerations and the transition to normal watering.

        New Turf Watering Schedule 2

        Why watering new turf properly matters

        New turf is living grass that has been cut from its growing base, transported and installed onto a new soil profile. Until the roots grow into the soil below, the turf is left vulnerable.

        In the early establishment phase, new turf relies heavily on consistent surface and upper soil moisture. If it dries out too quickly, the turf can shrink, curl at the edges, lift at the joins or begin to lose colour. However, if it's overwatered, especially in heavy or shaded soils, the site can become waterlogged, and oxygen movement through the soil becomes difficult.

        Good watering is about balance.

        During the first stage, the priority is keeping the turf and immediate soil profile moist. As the lawn begins to root, the goal gradually shifts toward deeper watering that encourages stronger root development. Once the turf has established, watering should move toward a normal lawn care routine based on the season, soil type, turf variety and site use.

        For landscapers, this is why the watering plan should be explained clearly before the job is handed over. A new lawn does not simply need “a bit of water”. It needs the right watering at the right stage.

        The landscaper's role before handover

        A successful new turf watering schedule starts before the turf is even laid.

        The soil profile needs to be prepared properly so water can move through the surface and into the root zone. If turf is laid onto dry, compacted, hydrophobic or poorly prepared soil, watering after installation becomes harder and less effective.

        Before handover, landscapers should consider:

        • Whether the soil has been properly prepared
        • Whether the soil is moist enough before turf is installed
        • Whether the site has hydrophobic soil or compaction issues
        • Whether irrigation coverage is even
        • Whether water is running off, pooling or failing to soak in
        • Whether the client or site manager understands the watering requirements
        • Who is responsible for watering after installation

        Where possible, water the prepared soil before laying turf, especially in hot, dry or windy conditions. The soil should not be muddy or saturated, but it should have enough moisture to support the turf once it is installed. You may also wish to apply Lawn Launcher with water crystals to give a lawn the best start.

        During installation, it is often best to water progressively. On warm days, do not wait until the entire lawn is laid before watering. Turf starts drying from the moment it is installed, particularly around edges, joins, slopes and exposed areas.

        Before leaving the site, check that the lawn has been watered thoroughly and that the person responsible for ongoing care understands the next steps.

        Commercial site handover considerations

        Commercial sites often need a more structured watering handover than residential jobs.

        There may be multiple people involved, including the installer, property manager, groundskeeper, maintenance contractor, builder, tenant, school staff or strata manager. If responsibility is unclear, watering can be missed during the most important period.

        For schools, childcare centres, strata lawns, parks, commercial entries and public-facing landscapes, clear handover is especially important. These sites often have foot traffic, public visibility and multiple decision-makers. A written watering schedule helps keep everyone aligned.

        After installation: keeping the new turf on track

        Once the turf is installed, the focus shifts from laying the lawn to protecting it while the roots establish.

        New turf needs consistent moisture through the early establishment phase. The turf itself and the upper soil profile should be kept moist, especially during the first week when the roots have not yet knitted into the soil below.

        This does not mean flooding the lawn. The aim is to water often enough that the turf does not dry out, while still allowing water to move into the soil rather than sitting on the surface or running off.

        Extra attention should be given to edges, joins, slopes, sunny areas and exposed sections, as these tend to dry out faster. Shaded areas and heavier soils may need less frequent watering, so the schedule should always be adjusted to the site conditions.

        For landscapers, this is also an important handover point. The person responsible for looking after the lawn after installation, whether that is a homeowner, tenant, site manager, maintenance contractor or commercial groundskeeper, needs to understand what care is required, what signs of stress to look for, and when watering can gradually be reduced.

        New turf watering schedule overview

        There is no single lawn watering schedule that works perfectly for every site. Season, temperature, wind, soil type, shade, turf variety, irrigation coverage and site use all change how much water is needed.

        However, the following schedule provides a practical guide for watering new lawn areas during establishment.

        Stage Main goal Watering approach What to check
        Installation day Stop turf drying out and settle it onto the soil Water immediately and progressively as turf is laid Soil moisture, edges, joins, slopes and irrigation coverage
        Days 1–7 Keep turf and upper soil consistently moist Water frequently, adjusting for heat, wind, shade and soil type Curling, shrinking, dry edges, lifting corners, runoff or pooling
        Weeks 2–3 Encourage roots to move into the soil Gradually reduce frequency and water a little deeper Root attachment, dry spots, soil moisture and uneven establishment
        Root establishment Confirm the turf has knitted into the soil Adjust watering based on root progress Gently lift corners in different areas to check resistance
        Weeks 4 onwards Transition toward normal irrigation Move to deeper, less frequent watering Root depth, turf colour, weather conditions and site use
        Established lawn Maintain long-term turf health Water based on season, soil type, rainfall and turf needs Signs of drought stress, overwatering, compaction or irrigation gaps

        This schedule should be treated as a practical framework, not a fixed rule. The best results come from watching the lawn, checking the soil and adjusting the watering as the turf establishes.

        Installation day

        New turf should be watered as soon as possible after it is laid. In warm or windy conditions, this may mean watering sections progressively throughout the installation rather than waiting until the entire lawn is finished.

        The goal on installation day is to make sure the turf and the soil directly beneath it are moist enough to support immediate recovery.

        Practical steps include:

        • Water the prepared soil before laying it if it is dry
        • Begin watering turf as soon as sections are installed
        • Make sure water reaches the underside of the turf and the topsoil below
        • Avoid creating puddles or runoff
        • Check edges, corners and joins carefully
        • Water sloped or exposed areas with extra care

        The turf should be moist, settled and in full contact with the soil. If there are air gaps, dry soil underneath, or poor contact between the turf and the base, root establishment may be uneven.

        For landscapers, the key handover message is simple: watering on installation day is not optional. It is the first step in helping the new lawn survive and establish.

        Deep watering

        Days 1-7

        The first week is usually the most vulnerable period for new turf.

        During this stage, the turf has not yet developed strong roots into the soil below. The main priority is to prevent the turf and upper soil profile from drying out.

        In many cases, this means watering at least daily, and sometimes more often in hot, windy or exposed conditions. On very warm days, light additional watering may be needed to cool the turf and stop it drying out between deeper watering sessions.

        The aim is consistent moisture, not waterlogging.

        During days 1–7, check for:

        • Curling or lifting edges
        • Shrinking between turf rolls
        • Dry joins
        • Dull, bluish or grey-green colour
        • Footprints that remain visible
        • Dry soil beneath the turf
        • Water running off instead of soaking in
        • Water pooling in shaded or low areas

        Edges, joins, and exposed sections often dry faster than the middle of the lawn. These areas should be checked closely, especially on sites with slopes, hard surfaces and paths, concrete edges, retaining walls or full sun exposure.

        Shade also matters. A shaded section may not need the same volume or frequency as a hot, exposed verge. Heavy soils may hold moisture longer, while sandy soils may dry quickly.

        The first week is about observation as much as routine. A schedule helps, but the lawn will tell you whether it is getting enough water.

        The Best Methods for Watering Your Lawn

        Weeks 2-3

        By weeks 2–3, the turf should begin sending roots into the soil profile. This is when the watering can start to shift. Instead of frequent shallow watering only, the goal is to gradually reduce frequency and encourage deeper moisture movement. This helps the roots move down into the soil rather than staying close to the surface.

        This transition should happen gradually. Cutting back too quickly can stress the turf before the roots are ready.

        During weeks 2–3:

        • Keep monitoring the lawn daily
          · Reduce watering frequency where the turf is holding well
          · Water a little deeper to encourage root growth
          · Continue checking edges, joins and dry spots
          · Avoid heavy foot traffic
          · Watch for uneven establishment
          · Adjust watering for heat, wind, rainfall and soil type

        Some areas may establish faster than others. Full-sun areas, slopes, sandy soils and exposed edges may need more attention. Shaded or heavier soil areas may need less frequent watering.

        This is also a good time to check whether water is entering the soil properly. If water is running off or sitting on the surface, there may be compaction, hydrophobic soil or irrigation coverage issues that need to be addressed.

        Monitor rainfall

        Root establishment: how to check progress

        Do not reduce watering based only on the number of days since installation. Check whether the turf has actually established.

        A simple way to check root establishment is to gently lift a corner of the turf.

        If the turf lifts easily, the roots have not fully knitted into the soil below. If it resists lifting, the roots are beginning to establish.

        Check several areas, not just the healthiest-looking section. Root establishment can vary across the site depending on shade, soil condition, irrigation coverage, slope and turf contact.

        When checking root establishment, look for:

        • resistance when gently lifting the turf
        • new white roots entering the soil
        • even colour across the lawn
        • fewer dry edges or joins
        • stable turf that does not shift under light movement
        • soil moisture below the turf, not just on top

        If rooting is uneven, keep watering based on the weakest areas rather than the strongest sections. Reducing water too quickly can create patchy establishment and slow recovery.

        Weeks 4 onwards: transition to normal irragation

        Once the turf has rooted into the soil, the lawn can gradually transition to a normal irrigation routine.

        At this stage, the aim is deeper, less frequent watering. This encourages stronger roots and helps the lawn become more resilient.

        Ongoing shallow watering can keep roots close to the surface. That may make the turf more vulnerable during hot weather, dry periods or high-use conditions.

        As the lawn establishes:

        • reduce watering frequency gradually
        • water more deeply when watering is needed
        • water in the morning where possible
        • adjust based on rainfall and soil moisture
        • monitor for dry patches
        • avoid overwatering shaded or heavy soil areas
        • check irrigation coverage if the lawn is drying unevenly

        For commercial sites, this may involve updating irrigation programming after the establishment period. The watering schedule used in week one should not automatically become the long-term irrigation schedule.

        The lawn’s needs change once the roots are established


        Monitor rainfall

        Seasonal adjustments for Australian conditions

        Australian conditions vary significantly by region, season and site exposure. A new turf watering schedule should always be adjusted to the weather.

        Summer and hot weather

        Summer installations need close attention.

        Heat, wind and reflected heat from concrete, roads, walls and paving can dry turf quickly. Exposed edges, joins, slopes and verges are often the first areas to show stress.

        In hot weather:

        • water early in the day
        • monitor turf during the hottest part of the day
        • use additional light watering if turf is drying out
        • check edges, joins and exposed sections closely
        • avoid letting the turf dry between watering sessions in the first week
        • watch for runoff on dry or hydrophobic soil

        In extreme heat, short cooling waterings may be useful, especially while the turf is still establishing. These should not replace deeper watering, but they can help reduce stress during the most vulnerable stage.

        Autumn and spring

        Autumn and spring are often more forgiving seasons for turf establishment.

        Temperatures are generally milder, evaporation may be lower than summer, and the turf may have a better opportunity to establish without extreme heat stress.

        However, watering still matters.

        During autumn and spring:

        • continue watering immediately after installation
        • monitor warm, windy or dry days
        • do not assume rainfall has watered deeply enough
        • reduce watering gradually as roots establish
        • check soil moisture below the turf

        These seasons can be excellent for turf installation, but the lawn still needs consistent care through establishment.

        Winter and cooler weather

        In cooler conditions, turf may establish more slowly.

        Evaporation is lower, which means the lawn may not need watering as frequently as it would in summer. However, slower growth also means the establishment phase may take longer.

        In winter or cooler periods:

        • avoid following a summer watering schedule without adjustment
        • monitor soil moisture rather than watering by habit
        • be careful not to overwater shaded or heavy soil areas
        • allow for slower root growth
        • keep the turf moist enough to support establishment
        • watch for waterlogging or p
        • r drainage

        Warm-season grasses may take longer to root in cooler weather, so patience and monitoring are important.

        Monitor rainfall

        Soil-type adjustments

        Soil type has a major influence on how new turf should be watered.

        A lawn watering schedule should always be adjusted based on how the soil accepts, holds and drains water.

        Sandy soils

        Sandy soils drain quickly and often hold less moisture.

        On sandy sites, new turf may need more frequent watering during establishment, especially in warm or windy weather. The challenge is keeping the upper profile moist without simply letting water pass through too quickly.

        Wetting agents and suitable soil preparation can be helpful where sandy soil is also hydrophobic.

        Clay and heavier soils

        Clay and heavier soils hold moisture for longer, but they can also become waterlogged if overwatered.

        On heavy soils, water more carefully and monitor whether the profile is staying too wet. If water sits on the surface, pools in low areas or the turf feels soft and boggy underfoot, reduce watering and check drainage.

        The goal is moist soil, not saturated soil.

        Compacted soils

        Compacted soils can prevent water from moving properly through the profile.

        Water may pool, run off or only enter through cracks. If new turf is installed over compacted soil, roots may struggle to move down and the lawn may establish unevenly.

        Where compaction is present, soil preparation before installation is critical. After installation, monitor carefully for runoff, dry patches and poor root development.

        Hydrophobic soils

        Hydrophobic soil repels water and can make new turf establishment difficult.

        If water beads or runs off before turf is laid, the issue should be treated before installation. This may involve wetting agent, cultivation, topsoil improvement or replacing unsuitable material.

        If hydrophobic behaviour appears during establishment, treat it early. Do not simply increase watering volume without checking whether water is actually entering the soil.

        Slopes, edges and exposed areas

        Slopes, edges and exposed areas often dry faster than the rest of the lawn.

        They may need extra attention during the first few weeks, especially where the turf borders paths, roads, walls, fences or paved areas.

        These areas should be checked manually rather than relying only on the irrigation system.

        Turf variety considerations

        Different turf varieties have different growth habits, recovery patterns and drought tolerance. However, all new turf needs consistent moisture during establishment.

        Relevant turf varieties for Australian landscapers include:

        • Sir Walter DNA Certified Buffalo
        • Stampede Buffalo
        • TifTuf Hybrid Bermuda
        • Eureka Kikuyu
        • Sir Grange Zoysia
        • Zoysia Australis

        Buffalo varieties such as Sir Walter DNA Certified Buffalo and Stampede Buffalo are often chosen for their soft leaf, shade tolerance and strong residential appeal. TifTuf Hybrid Bermuda is valued for full-sun performance and strong drought tolerance once established. Eureka Kikuyu is vigorous and can recover well in suitable sunny areas. Sir Grange Zoysia and Zoysia Australis offer attractive zoysia characteristics where their growth habit and maintenance profile suit the site.

        The important thing to remember is that drought tolerance matters most after establishment.

        A drought-tolerant turf still needs water during the first few weeks. Until roots have grown into the soil below, the turf relies on consistent moisture to survive, recover and establish properly.

        Monitor rainfall

        Common watering mistakes after new turf installation

        Many new lawn problems come back to watering habits during establishment.

        Common mistakes include:

        • waiting too long to water after installation
        • watering the surface but not the soil beneath
        • letting edges and joins dry out
        • watering too lightly for too long
        • overwatering shaded or heavy soil areas
        • reducing watering too quickly
        • ignoring heat and wind
        • assuming rainfall has done enough
        • failing to check irrigation coverage
        • allowing heavy use before roots establish
        • not adjusting the schedule once roots start developing

        One of the biggest mistakes is treating the watering schedule as fixed. New turf needs close attention in the first few weeks. The schedule should respond to the site, not the other way around.

        Commercial site handover considerations

        Commercial sites often need a more structured watering handover than residential jobs.

        There may be multiple people involved, including the installer, property manager, groundskeeper, maintenance contractor, builder, tenant, school staff or strata manager. If responsibility is unclear, watering can be missed during the most important period.

        For commercial sites, it is worth documenting:

        • who is responsible for watering
        • when watering starts
        • how often watering should occur during the first week
        • who checks the lawn each day
        • how irrigation is programmed
        • which areas are high risk
        • when the first inspection should happen
        • when watering should start to reduce
        • who approves the transition to normal irrigation

        High-risk areas should be clearly identified. These may include verges, slopes, entrances, playground surrounds, exposed edges, shaded heavy-soil areas and any section with inconsistent irrigation coverage.

        For schools, childcare centres, strata lawns, parks, commercial entries and public-facing landscapes, clear handover is especially important. These sites often have foot traffic, public visibility and multiple decision-makers. A written watering schedule helps keep everyone aligned.

        Check local water rules

        Water restrictions and exemptions can vary depending on your location, water provider and current conditions.

        Before installing turf or setting a watering schedule, check the relevant local water rules. New lawns may have specific allowances or exemption requirements in some areas, but these should not be assumed.

        For landscapers, this is another useful handover point. Make sure the person responsible for watering understands both the turf establishment needs and any local watering requirements that apply to the site.

        Work with Buy Turf Online

        A good new turf watering schedule helps protect the quality of the installation and gives the lawn the best chance to establish properly.

        For landscapers, it also supports a smoother handover. When the person responsible for aftercare understands what to do on installation day, through the first week, into root establishment and beyond, the lawn is far more likely to perform as intended.

        Buy Turf Online supports Australian landscapers with quality turf supply, lawn care products and practical resources for residential, commercial and trade projects.

        Open a Business Login to access trade-friendly turf supply options, explore our lawn care products, or browse more landscaper-focused turf content to support your next project.

        Monitor rainfall

        FAQs

        How long do you need to water a new lawn?

        The most intensive watering is usually needed during the first few weeks after installation.

        However, the exact timeframe depends on root establishment. Warm weather, sandy soil and exposed sites may require closer attention, while cooler weather may slow root growth and extend the establishment period.

        Do not reduce watering based only on the calendar. Check whether the turf has rooted into the soil.

        Can you overwater new turf?

        Yes, new turf can be overwatered.

        Overwatering can create waterlogging, reduce oxygen movement through the soil and contribute to weak root development. This is more likely in shaded areas, heavy soils, low spots or poorly drained sites.

        New turf should be kept moist, not flooded.

        What time of day should you water new turf?

        Morning is generally the best time to water new turf, especially once it begins transitioning toward normal irrigation.

        During the first week, additional watering may be needed during the day in hot, windy or exposed conditions to stop the turf drying out. Avoid relying only on evening watering if the lawn is drying out during the heat of the day.

        How do you know if new turf is getting enough water?

        New turf is usually getting enough water when the turf remains evenly coloured, the soil beneath is moist, edges are not curling or shrinking, and roots are beginning to attach to the soil.

        Signs that the turf may need more attention include dry edges, lifting corners, dull or bluish colour, visible shrinkage between rolls, footprints that stay visible, or dry soil underneath the turf.

        Can rain replace watering new turf?

        Rain can help, but it should not be assumed to be enough.

        Light rain may wet the surface without reaching the soil beneath the turf. After rainfall, check the soil moisture manually. If the underside of the turf or the topsoil below is still dry, additional watering is needed.


        Buy Turf Online © 2019 All Rights Reserved. | Proudly Designed by Dweebi and Managed by Sydney ICT