How to Lay Turf
Quick Links
How to Lay Turf
Laying turf may seem like a very simple process, which isn’t necessarily false, but it’s a process that you need to ensure is followed and done correctly otherwise you will end up with a lawn that never sits right, has lumps, bumps, and likely dry areas that won’t grow correctly.
To help you lay turf correctly, we’ve compiled a step-by-step guide that will help from soil preparation before your turf delivery to watering in your new lawn area.
- Preparing for your new lawn
- Levelling the soil
- Laying the turf rolls
- Watering in your new lawn
1. Preparation
Regardless of your garden project, whether it is handing pot plans, building a shed, or installing new garden furniture, failure to prepare could ruin the finished project and can be impossible to correct.
One thing to consider in the preparation of achieving your new lawn is when you order the turf.
Our fresh turf doesn’t have a very long shelf-life, it will begin perishing as soon as it is delivered – meaning you have to lay it as soon as possible.
In order to do so, you need to prepare your lawn as much as possible before your turf is delivered.
When is the Best Time to Lay Turf?
Luckily, you can install a new lawn any time of the year. However, there are benefits and drawbacks for laying your new lawn in each season.
Spring: This is the ideal time to lay your new lawn. You’ll find that your new lawn will establish itself quickly and won’t need as much water as in summer.
However, if you are laying your lawn in late spring, you may still need to water your lawn more as it grows its root system.
Summer: Although a new lawn will grow very quickly during summer, it will require a huge amount of water to ensure it doesn’t dry out in the heat.
Not only will your lawn need more water to maintain its growth, but you will lose more to evaporation.
Autumn: Autumn is the best time to lay a new lawn if you’re conscious about how much water you will need to use.
The weather won’t be too cold, and your new lawn will have time to grow its root system before it goes into semi-hibernation during winter.
Winter: Even though lawns go into semi-hibernation during winter, you can still lay a lawn at this time. All it means is that your new lawn won’t establish its roots until winter is over.
This does mean that your water requirements are almost halved, and you won’t need to mow until spring.
So, if you’re worried about how much water you will need to use, autumn or winter may be the best time for you.
Or, if you’d rather have a luscious green lawn in time for summer BBQs, spring may be ideal for you. However, now is just as good a time as any.
Work Out How Much Turf You Will Need
Calculating your lawn area used to mean using a bunch of math formulas that we thought we’d left behind us in high school.
Now, however, you can just enter the data in our lawn calculator, and it will do all the hard stuff for us.
But first, you will need to make a couple of measurements to input into the calculator.
Firstly, break up your yard into rectangles and triangles. Then, measure the length of each side of these shapes.
Once you have all of the shape dimensions, you can put them into our turf calculator.
Equipment You’ll Need
To start the process you will need to check that you have all the appropriate equipment for the job.
Sharp Spade
This is the first piece of equipment you will need. It will be used to remove any existing turf and then break up the ground.
Riddle
Once you have broken up the ground, you will then use a riddle. A riddle is basically a giant sieve that you will use to remove any rocks and debris from the soil.
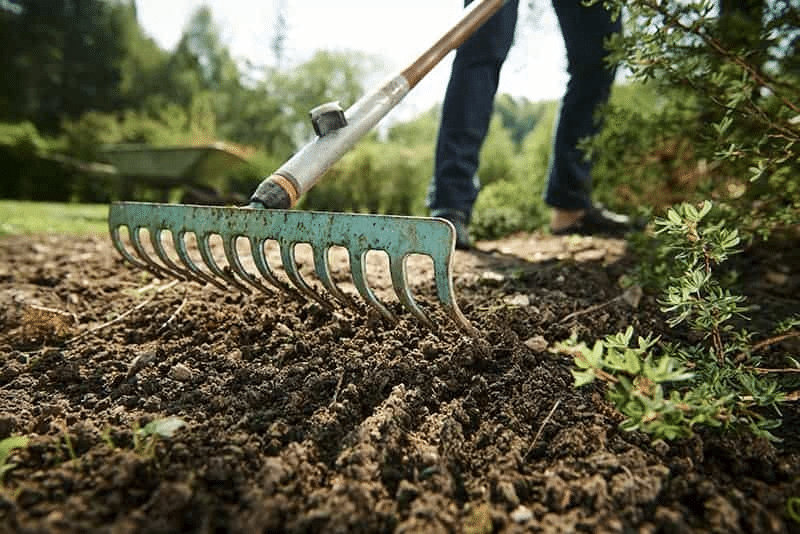
Garden Rake
This tool will allow you to move the soil and create tilth.
Tilth: the condition of tilled soil, especially with respect to the suitability for sowing seeds.
Garden Fork
The final piece of equipment is a garden fork, to break up and aerate the soil.
Sharp Knife
This is used when cutting the turf to the right size. It is important that you cut the turf rather than tearing it apart as this could damage the roll and likely won’t give the smartest of finishes.
Soil Preparation
Once you have gathered all of the tools and equipment you will need, the first thing to do when laying turf is prepare the soil.
To do this, take the garden fork and dig over the ground where you want to lay your turf.
For the grass to root, the soil needs to be aerated and broken up. If turf is laid on top of compact soil, grass can find it difficult to root.
Whilst breaking up this soil, you are also tasked with removing any rocks and debris in the soil.
It is important to turn over the top layer of soil so that you are clearing anything under the soil as well as just the surface level.
To ensure the soil is clear of any debris, you will want to run it through the riddle.
When preparing your soil, you will also want to add in any soil improvers to combat any soil deficiencies.
Do You Need to Add Turf Underlay Soil?
Depending on your grass variety, your new lawn will have a preference for the type of soil. Most warm-season grasses love sandy soil.
Generally, this means it is 70% sand and 30% soil. The sand component allows water and air to move more freely through the soil.
A layer of underlay soil that meets your new lawn’s preferences will not only help with lawn installation but will give it a good foundation for future growth.
View the turf intsallation video here
2. Level The Soil
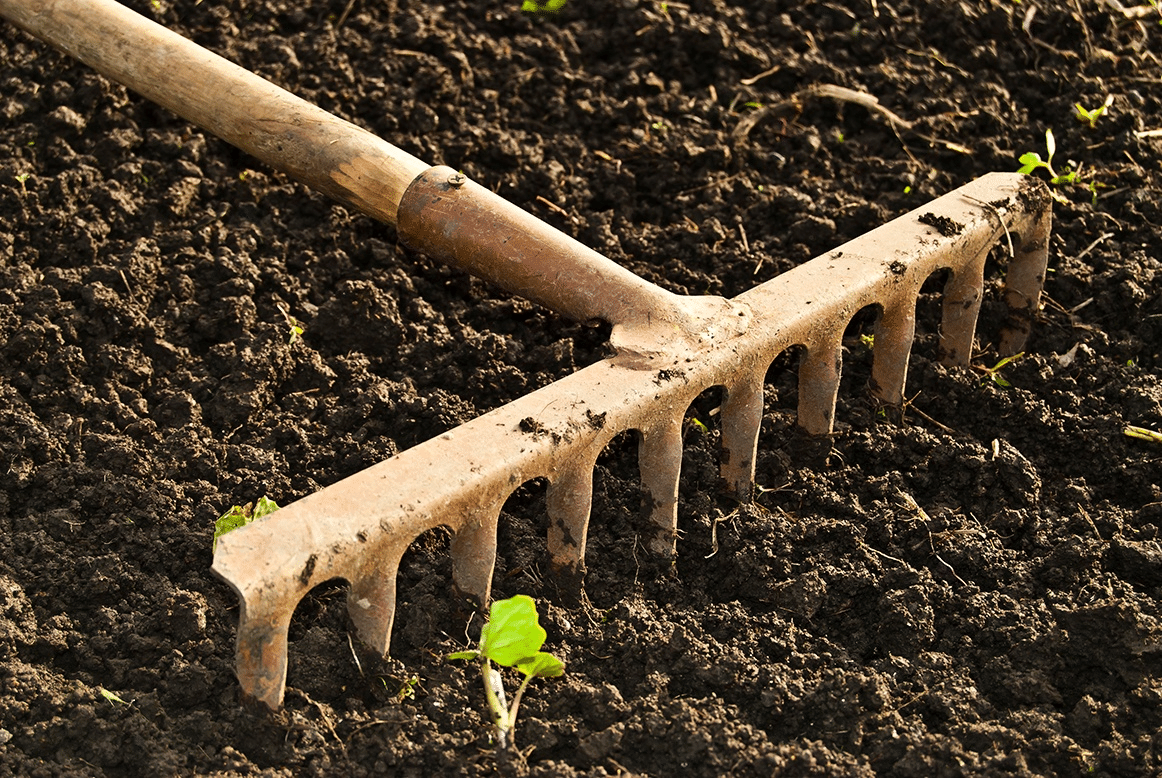
The rake will now be used to break down any big lumps and achieve an even surface.
You know you will have finished raking when the top resembles the same as the top of an apple crumble.
Once you have levelled the soil, it is time for the ‘gardeners dance’. This is a funny little shuffle that you need to do to press down the soil.
Criss-cross the soil, taking tiny steps, start off in one direction and then re-press the other way.
3. Lay the Turf
After you have achieved a level surface you have ‘fine tilth’ and you can lay your turf atop the soil.
To prevent ruining your perfectly prepared soil, you can use a board to kneel on when laying your turf.
Take your first roll of turf and unroll it fully. Unroll your second roll of turf in a brick pattern to the first roll.
This will prevent large joints next to each other, and instead, you will have staggered joints.
If you unroll your turf next to each other, you risk getting one large joint down the middle of your lawn.
A line of joints means the turf is more likely to dry out or to give you an uneven lawn.
Prevent gaps in your law with the rule of 5%. This rule outlines that you should order 5% extra turf than the size of the lawn you will lay.
This allows you to use larger pieces of turf, rather than using smaller pieces that may dry out.
Our handy turf calculator allows you to automatically add 5% extra so that you don’t have to worry about the maths.
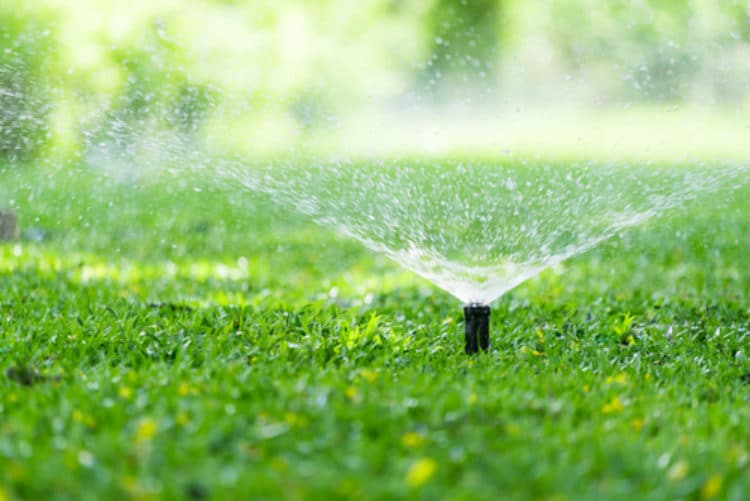
4. Water Your New Lawn
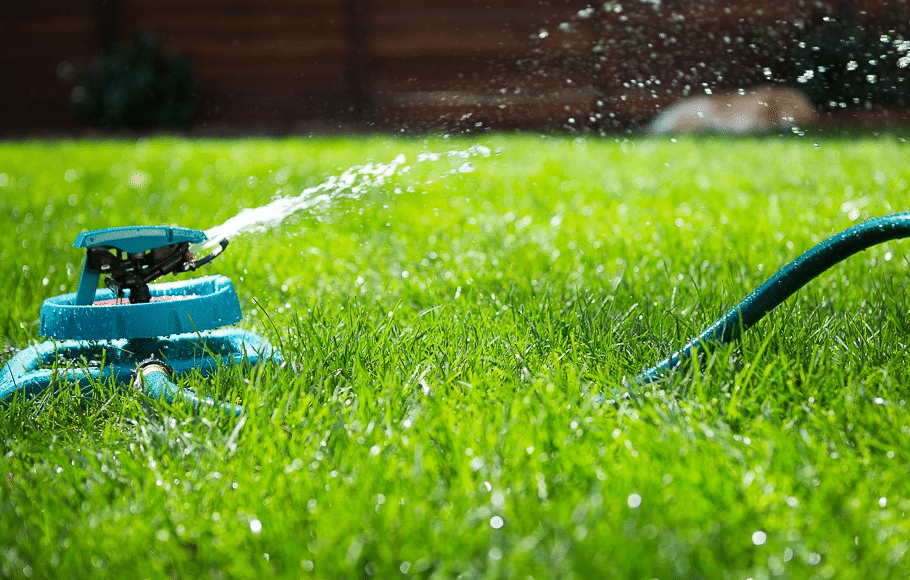
Immediately after you have laid your new lawn you should water it. If you have laid the roll of turf in a brickwork fashion your lawn should retain more water.
A new lawn requires water to thrive, it stimulates root growth and helps the lawn establish itself in a new environment.
See also
Step by Step Turf laying guide by Grech’s Turf
The Ultimate Turf Laying Guide – Atlas Turf

read more!
recent posts
Which Zoysia Lawn is Right For Your Home?
Compare Zoysia Australis and Empire Zoysia to find the perfect turf for your lawn. Discover key differences and make an informed choice! Read more.
Sir Walter Buffalo vs TifTuf: Which One is Better
Compare Sir Walter Buffalo and TifTuf turf for Australian lawns. Discover key differences in shade tolerance, drought resistance, wear, maintenance & which is best for your yard.
Poolside Turf: Choosing and Maintaining Grass Around Pools
There’s nothing quite like stepping out of a swimming pool onto soft, lush grass. But when it comes to finding the best grass for around a pool, not all lawns are created equal. Chlorine pools, heavy foot traffic, and the unforgiving Australian sun can take a toll on...
Keeping Your Lawn Green and Healthy During the Summer Heat
Discover the best grass options for your lawn with our complete guide. Make informed choices for a lush, healthy yard. Read more to find your ideal grass!

Our Turf
TifTuf Bermuda
Buy Turf Online © 2019 All Rights Reserved. | Proudly Designed and Developed by Sydney ICT


